This little quilt makes me happy.........and it was sooooo fun to make!
I did English paper piecing using a fabric glue pen and paper pieces.......
The hexies fabric is RJR Painting Watercolor and
the background is Essentials Dots white with baby pink......
I appliqued the hexies group to the background fabric.....
then I did a blanket stitch with purple Aurifil wt 12....
I marked about 1/4" away with a Frixion pen...(the marks iron out easily)...
layered with batting and backing.....and then quilted two rows with white perle 8....
For the borders I cut 1½" strips and starting at the bottom I did "quilt as you" go stitching
through all the layers with wrong side up and then press open before going to the next one...
then I did the one to the left and did the same for all borders and on around...
This has such fun stages to make this little quilt and I enjoyed ALL of them!
It could be a tabletopper or mugrug............or wallhanging...
I push pinned this one in my bathroom above another little mini I did several years ago!
Linking to crazy mom quilts finish it up Friday.......
Also linking to Freemotion by the River Linky Tuesday....
Smiles and hugs....Caryl
“Friendship, love, health, energy, enthusiasm, and joy
are the things that make life worth living and exploring.” ~ Denise Austin
Thursday, June 4, 2015
Friday, May 29, 2015
Farm Girl Vintage apron strings tabletopper
My finish this week and I love it on my glass top kitchen table.
This is the apron strings block from Farm Girl Vintage sew along.
If you are on instagram you have seen a lot of wonderful blocks from this sew along....
AND if you aren't on instagram.....why not??
Here is the back of the tabletopper with the quilting and before I added the binding.........Here is the link Farm Girl Fridays schedule for the sew along that started May 1.
And go to Lori Holt's blog Bee in my Bonnet and check out all the fun!
Linking to crazymomquilts finish it up Friday
and also to Freemotion by the River Linky Tuesday
Smiles and hugs....Caryl
Thursday, May 21, 2015
Blue with stitched flower mug rug
Here is a little tutorial of how I did this mug rug/small placemat...
I used 2½" squares and the right upper corner is 4½"...
I used a larger piece of blue than 4½" and stamped a Hero Arts stamp CG134....
I used a fabric ink pad but I needed to see the lines better for stitching.....soooo....
I copied the stamp on vellum and taped the fabric on top and used a light under to see and
traced with a Frixion pen. These pens are great...easy to write on fabric and the ink is erasable.
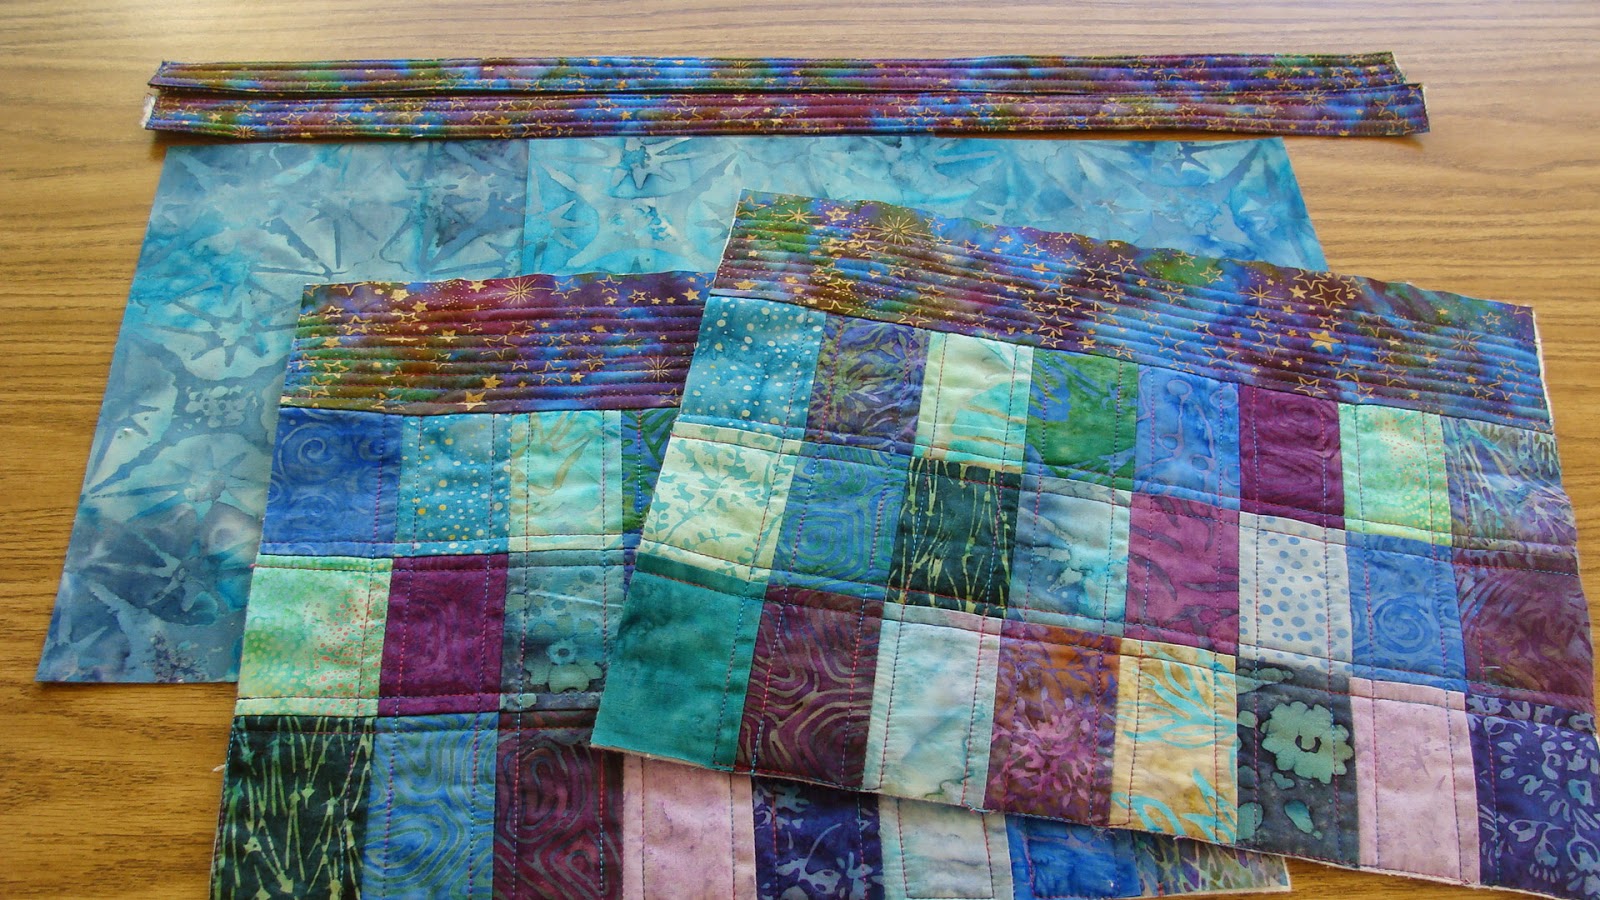
I used a walking foot and the thread is varigated rainbow 838. I used a shorter stitch (Bernina 1.5 to 1.8) following along the flower lines. I did the flower first with the batting and then cut the square to 4½" and added to the rest of the blocks. I then put a layer of batting under the whole thing (this corner has a double layer). I trimmed some of the batting in the seam areas around the top corner.
I also trim my batting and backing AFTER I add the binding.
Here is the back using the wonder clips to hold while I hand tacked the binding.
I loved doing this project and this tute will help me if I want to make another one!!
so now.....let me know if you make one of these!
I will link to crazymomquilts finish it up Friday..
And to Freemotion by the River Linky Tuesday
Smiles and hugs....Caryl
I used 2½" squares and the right upper corner is 4½"...
I used a larger piece of blue than 4½" and stamped a Hero Arts stamp CG134....
I used a fabric ink pad but I needed to see the lines better for stitching.....soooo....
I copied the stamp on vellum and taped the fabric on top and used a light under to see and
traced with a Frixion pen. These pens are great...easy to write on fabric and the ink is erasable.
I used a walking foot and the thread is varigated rainbow 838. I used a shorter stitch (Bernina 1.5 to 1.8) following along the flower lines. I did the flower first with the batting and then cut the square to 4½" and added to the rest of the blocks. I then put a layer of batting under the whole thing (this corner has a double layer). I trimmed some of the batting in the seam areas around the top corner.
I also trim my batting and backing AFTER I add the binding.
Here is the back using the wonder clips to hold while I hand tacked the binding.
I loved doing this project and this tute will help me if I want to make another one!!
so now.....let me know if you make one of these!
I will link to crazymomquilts finish it up Friday..
And to Freemotion by the River Linky Tuesday
Smiles and hugs....Caryl
Thursday, April 23, 2015
Farm Girl Vintage Fever!
There is a new book by Lori Holt of Bee in my Bonnet........
Have you caught the fever yet? .......
There is quite a "buzz" on instagram.......
A sew along is starting May 1 and going til October..........
Lori will be posting on her blog every Friday.....
The photo above is the book and Farm Girl Vintage Fat Quarter bundle...
I ordered these from fatquartershop.com
If you want to do this....don't wait...my order came in two days from Texas to California!
As Lori would say.....YeeHaw!!!!
Have you caught the fever yet? .......
There is quite a "buzz" on instagram.......
A sew along is starting May 1 and going til October..........
Lori will be posting on her blog every Friday.....
The photo above is the book and Farm Girl Vintage Fat Quarter bundle...
I ordered these from fatquartershop.com
If you want to do this....don't wait...my order came in two days from Texas to California!
As Lori would say.....YeeHaw!!!!
Labels:
farm girl vintage,
Lori Holt,
quilt along
Sunday, April 19, 2015
String Bean Challenge quilt
Pat Sloan gave us a challenge on her blog and a free pattern.
I have posted it on instagram, her facebook group and flickr.....
I used mostly Pat's bobbins and bits fabric but added some other fabrics too.
I haven't decided how to quilt it yet??? Any ideas? Wondering how others are quilting theirs?
Link to Pat Sloan's blog
Smiles and hugs....Caryl
Link to Connie at Freemotion by the River
I have posted it on instagram, her facebook group and flickr.....
I used mostly Pat's bobbins and bits fabric but added some other fabrics too.
I haven't decided how to quilt it yet??? Any ideas? Wondering how others are quilting theirs?
Link to Pat Sloan's blog
Smiles and hugs....Caryl
Link to Connie at Freemotion by the River
Wednesday, March 25, 2015
Halloween? In March?
Instagram is a fun place to check out,,,,,,,,,,,,,,,,
there was a tutorial by studiojujuquilts and I had to try it.,,,
It is foundation piecing with muslin and a fun method.
At first I wanted to do a spring project but the Halloween theme is what I used and I love it!
I will use this as a wall hanging or mug rug. There are a few photos on my instagram from start to end.
Be sure to check out the tutorial with photos (11 steps photos) by studiojujuquilts on instagram from two days ago.
Now I need to get back to my string bean challenge (Pat Sloan's pattern).
Linking to Freemotion by the River
Smiles and hugs....Caryl
Labels:
Halloween,
mug rug,
quilt,
wallhanging
Saturday, March 7, 2015
Microwave bowl holder tutorial
Darts are made after folding each side to the center.
The darts are 1" in and 2 1/4" down.
Pin right sides together and stitch around edge.
Leave about a 3" opening for turning.
Stitch around the edge on right sides....done!
Linking with Link a Finish Friday.
Also linking with Linky Tuesday Freemotion by the River.
Smiles and hugs....Caryl
Tuesday, December 16, 2014
Grand Illusion mystery quilt, part 3
Clue #3 was last Friday and I have mostly gathered fabrics, cut some and haven't done any sewing on clue #3. I hope to do some sewing on this before Friday.
I have been sewing on other projects and I have put some photos on instagram and will blog later about them.
This is such a fun mystery and I love to see what everyone else is doing on this mystery.
I am linking to Bonnie Hunter's Monday Link-up.
Smiles and hugs....Caryl
I have been sewing on other projects and I have put some photos on instagram and will blog later about them.
This is such a fun mystery and I love to see what everyone else is doing on this mystery.
I am linking to Bonnie Hunter's Monday Link-up.
Smiles and hugs....Caryl
Labels:
BonnieHunter,
grand illusion mystery,
quilt,
quilt along,
quilt block
Tuesday, December 9, 2014
Grand Illusion mystery quilt, part 2
Linking up to Bonnie Hunter at Quiltville with a photo of some of my progress on the quilt.
For part 2 I am using the rectangles and squares method and then making HSTs from the extra cut off from the corners using Bonnie's method of not wasting. It is fun to be doing this quilt with so many others that are sharing their progress. Fun....fun....fun!
Smiles and hugs....Caryl
For part 2 I am using the rectangles and squares method and then making HSTs from the extra cut off from the corners using Bonnie's method of not wasting. It is fun to be doing this quilt with so many others that are sharing their progress. Fun....fun....fun!
Smiles and hugs....Caryl
Labels:
BonnieHunter,
grand illusion mystery,
quilt,
quilt along,
quilt block
Monday, December 1, 2014
Grand Illusion mystery, part 1
Here is my start of Bonnie Hunter's mystery. She gave the first clue last Friday at quiltville.blogspot.com.
This is the first time I have used the Easy Angle ruler that Bonnie uses. I got it several years ago and never got to it before now. I just purchased several of the Bloc Loc rulers and am using one for squaring the HSTs. There is really not much to trim with this method.
Smiles and hugs....Caryl
I am linking up to Mystery Monday Link-Up, Part 1
This is the first time I have used the Easy Angle ruler that Bonnie uses. I got it several years ago and never got to it before now. I just purchased several of the Bloc Loc rulers and am using one for squaring the HSTs. There is really not much to trim with this method.
Smiles and hugs....Caryl
I am linking up to Mystery Monday Link-Up, Part 1
Labels:
BonnieHunter,
grand illusion mystery,
quilt,
quilt along
Friday, November 21, 2014
tote bag finish from IG tutorial
Another finish!! Yesterday I finished this tote bag that I started several months ago..
It is from an instagram tutorial by daisycottagequilting and to find it on IG use #bagtutorial
Sharon uses lots of photos and descriptions to make this. She said to use fusible interfacing for the lining and that is what I used. Go check out her tutorial.
Here is a photo of the right sides together getting ready to sew them together. I need lots of photos and directions when I am doing a new project so that is why I am including this photo.
Anyone that wants to make one of these I would just do it. There is a lot of help on the internet and lots of different ways to make a tote!
Our Tuesday small quilt group is working on self-mitered log cabin blocks. Here is my first one and the pattern is on vellum...thanks to Jan Krentz. She did a wonderful demo for us on Tuesday night. I have a lot of 2" strips cut out of lights and darks and I need to find mediums. This is tricky for me to get them in order. But this is a very fun block to do!!
Smiles and hugs....Caryl
linking to finish it up Friday crazymomquilts and
Link a Finish Friday Richard and Tonya quilts
Link to Freemotion by the River
It is from an instagram tutorial by daisycottagequilting and to find it on IG use #bagtutorial
Sharon uses lots of photos and descriptions to make this. She said to use fusible interfacing for the lining and that is what I used. Go check out her tutorial.
Here is a photo of the right sides together getting ready to sew them together. I need lots of photos and directions when I am doing a new project so that is why I am including this photo.
Anyone that wants to make one of these I would just do it. There is a lot of help on the internet and lots of different ways to make a tote!
Our Tuesday small quilt group is working on self-mitered log cabin blocks. Here is my first one and the pattern is on vellum...thanks to Jan Krentz. She did a wonderful demo for us on Tuesday night. I have a lot of 2" strips cut out of lights and darks and I need to find mediums. This is tricky for me to get them in order. But this is a very fun block to do!!
Smiles and hugs....Caryl
linking to finish it up Friday crazymomquilts and
Link a Finish Friday Richard and Tonya quilts
Link to Freemotion by the River
Friday, November 14, 2014
Reversible tote finished and some fabrics for mystery
This week I finished the reversible tote that I started last year....
the instructions are from a free class from Craftsy....Bag Making Basics...
and I purchased the kit to go with the class.
It is easy to make.....
when I do a project like this I like reading the directions AND watching a video.....
The last photo shows fabric I purchased this week for Bonnie Hunter's mystery that starts in two weeks. She has information at her blog to get fabric ready before she gives the first clue. At least I will be starting this mystery quilt.... Go check it out.
To find out more.... http://quiltville.blogspot.com/p/grand-illusion-mystery.html
Who else has made the reversible tote?
Who else is doing the mystery?
Smiles and hugs....Caryl
linking to crazy mom quilts
also linking to Freemotion by the River
the instructions are from a free class from Craftsy....Bag Making Basics...
and I purchased the kit to go with the class.
It is easy to make.....
when I do a project like this I like reading the directions AND watching a video.....
The last photo shows fabric I purchased this week for Bonnie Hunter's mystery that starts in two weeks. She has information at her blog to get fabric ready before she gives the first clue. At least I will be starting this mystery quilt.... Go check it out.
To find out more.... http://quiltville.blogspot.com/p/grand-illusion-mystery.html
Who else has made the reversible tote?
Who else is doing the mystery?
Smiles and hugs....Caryl
linking to crazy mom quilts
also linking to Freemotion by the River
Subscribe to:
Posts (Atom)