“Friendship, love, health, energy, enthusiasm, and joy
are the things that make life worth living and exploring.” ~ Denise Austin
Showing posts with label table mat. Show all posts

Tuesday, February 9, 2021

To-Do Tuesday #52

  Today is To-Do Tuesday #52  and I am linking with Roseanne at Home Sewn by Us 

Progress from last week:


To-Do Tuesday week of February 2 through February 8:
  1. Grassy Creek Bonnie Hunter quilt...get all the directions I need because the posts with all the directions, tips and photos will be going away on Feb 12✅
  2. FMQ 4 times this week✅
  3. Log Cabin Loonies...add the next 6½" strips and make more blocks✅
  4. Mat for under my mixer using Blueberry Park fabric✅
I finished the mat and then I decided it is too pretty to cover up under my mixer so I will gift it to someone.  AND use some practice FMQ piece for under the mixer!


front and back photos....sorry I didn't crop the photos on my phone before transfer


Here is a journal page from last week.  It has a photo of a FMQ image I did.


A photo of a new project I started using Peltex and some ME honeybun strips doing quilt as you go quilting with the walking foot

To-Do Tuesday week of February 9 through February 15:
  1. FMQ x 4 days
  2. finish the ME Peltex project
  3. do more log cabin blocks


I am linking to Roseanne's  Home Sewn By Us


Smiles and hugs....Caryl

Wednesday, July 31, 2019

Christmas in July...a finish + liberated log cabin and other projects

 I just had to start and finish a Christmas project in July.  I had some of this fabric left from when I made tabletoppers in 2011 and 2013 and I made one similar to the ones I made back then.  I used machine quilting and hand quilting.

 The back of the mat is Debbie Mumm fabric.
 Here is a photo of half of the batting cut off close to the stitching.  I used the backing as a binding.  I cut it 1" from the outside of the mat and folded over halfway and pressed.  Then I clipped and pinned and did a machine stitch around the outside edge.  I used #332 on my Bernina.  That is the same stitch I used to quilt down the center and across the middle.
 Here is the little quilt I got so excited to start back in June when I watched an old show on TQS.  I blogged about it in this blog post   I was going to make it larger but changed my mind.  It is really difficult to piece something not straight and then try to get the outside fairly straight!  I thought improv making up whatever I wanted would be easier....but there has to be some kind of plan!  I am hand quilting it....fun....fun!  I am calling it Not All Solids.
I decided to do some big stitch quilting on this rail quilt that I had machine quilted about half so far....many many years ago!   I needed some hand work to do.  The tutorial I watched is
https://crafty.house/big-stitch-quilting/     I will go back to machine quilting when I practice some more....I have gotten very rusty with not doing it!!!
This photo is from my 2019 Artfully Inspired Life journal with the class I am taking with Joanne Sharpe.  It is the January page (she says we are NEVER behind)....and under the window shutters are my goals I wrote out for this year.  I had written them in January and just copied into my book this week!  The little shutters were made using my sticker machine and the acrylic papers I had painted and cut into tiny strips!.

I am so excited that I am NOW able to see The Quilt Show and my ruzuku classes on our big TV screen in the living room using Amazon Fire Box.  Really a great way to watch and get my steps at the same time.  Healthy eating and getting my walking exercise every day is a very important part of each day!

Linking to http://quiltingismorefunthanhousework.blogspot.com/2019/08/oh-scrap-new-color.html

Smiles and hugs....Caryl

Friday, November 2, 2018

Cool Cats quilt and some fall small project finishes

 What a fun quilt to make!  The pattern has borders but I am not adding borders and will quilt and bind it.  The fabric is Spirited Halloweenie by Bird Brain Designs.  It is so whimsical and fun!
 I just hung in front of another quilt in the living room for now with wonder clips!
 I blogged about the Cool Cats several weeks ago.  I had the blocks laying on the back of another quilt on the floor and it was so difficult for me bending over, etc.....and then last weekend we put the quilt pieces on that quilt backing on two folding tables side by side in our dining/living room.   What a wonderful difference.  It takes up a lot of room but is so much easier than on the floor.  I had taken a photo of the layout I had planned and I kept referring to that photo over and over.  You will notice in the photo that the bottom left cats are sewn backwards.  I didn't notice it until I did the same thing with another group of cats.  That is what seam rippers are for!!  It is an easy pattern to make but you need to pay attention to placement! 
 Here is the pattern by Peggy Martin.  Very well written instruction.
 I finished this little mat/coaster/mug rug that I have hand quilted and blanket stitched around the outside edge.  I used it as a project to work on with my Tuesday quilt group.  I also finished the larger mat in the photo.  I blogged about it in this blog post   last week.

I am linking to:
 crazy mom quilts  finish it up Friday
 freemotion by the river   linky Tuesday

Smiles and hugs....Caryl

Friday, October 26, 2018

Log Cabin Loonies week #11

 AND this might be my favorite layout so far of my log cabin blocks.  I have 123 blocks made and I am still making more.  I have been trying to get a photo this week and gave up the idea of laying the blocks on another quilt for the photo...too hard to work with that many blocks on the floor!  Today I cut out a large piece of batting and pinned each block on the batting while I had it on a long table and that worked great.  Then I could transfer it to the floor for the photo....whew!!!
I finished this little table mat this week.  It matches the fabrics in my fall placemats I made several years ago.

Linking with Julie   http://juliekquilts.blogspot.com/2018/10/log-cabin-loonies_23.html

Smiles and hugs....Caryl

Monday, October 22, 2018

Projects and recipes

 One of my favorite ways to quilt is with my walking foot.  I had planned to hand quilt this little tablemat but decided to finish it up by machine.  It has been sitting here waiting for awhile.
 Layout for Cool Cats and I am now ready to start sewing.  I will blog about it later with other photos.
I am still working on my log cabin blocks every day a little at a time.
I have been making peanut butter banana bread quite a few times in September and October after I found a recipe to make it low points.  I have had requests on IG and WW Connect for the recipe and decided to add it to my blog.  THEN....I decided to start another blog....it will contain recipes and I am calling it "hungry to lose".  That is the name of my blog I had on the WW site several years ago.  There was a community of blogs and challenges and all kinds of different groups at the WW site and they did away with the community and now it is called Connect. 
I am posting this recipe here today but from now on I will put food related things in the new blog.
Anyway....here is the recipe:

Peanut Butter Banana Bread
If you are searching on the internet for a banana bread recipe, it might be called salted caramel banana bread or another name.  The original recipe was 8 WW smart points for the whole thing.
I made changes to the recipes I saw and this is my version:

3/4 cup Kodiak cakes crunch peanut butter
3 scoops Quest peanut butter protein powder
1 Tbsp + 1 tsp baking powder
2 tsp cinnamon
1/2 tsp nutmeg
Mix these ingredients together.  (I put these 5 things in plastic bags to be ready to add the wet ingredients whenever I am ready to make this recipe.)
2 ½ - 3 bananas mashed (this measures to a heaping cup)
2 eggs
1 tsp vanilla
1 cup water
Place in greased bundt pan and bake 375° for 30 minutes
12 WW smart points for the whole thing

Smiles and hugs....Caryl

Thursday, September 6, 2018

HST placemats and easy triangle tool

 These did not start out to be placemats......
to make these I used the easy triangle tool I had purchased and used in 2012 and then forgot about it!!
Several weeks ago I decided to use some charm squares of Pat Sloan's Hometown Girl to make a mat.
 This photo is the second one I finished this past week after I decided these would be placemats.  The size is a little different than my others....16 ½" x 8½".
I blogged about a runner I made with this tool in 2012 and it is http://carylquilts.blogspot.com/2012/12/christmas-hst-runner.html  and there is a link on that blog post to the September 2012 blog post where I show the ruler.  Designed by Wendy Mathson.
This ruler is called fast2mark easy triangle tool   You mark on the lines and SEW on the lines.  AND no need to square up afterwards!

~~~~~~~~~~~~~~~~~~~~
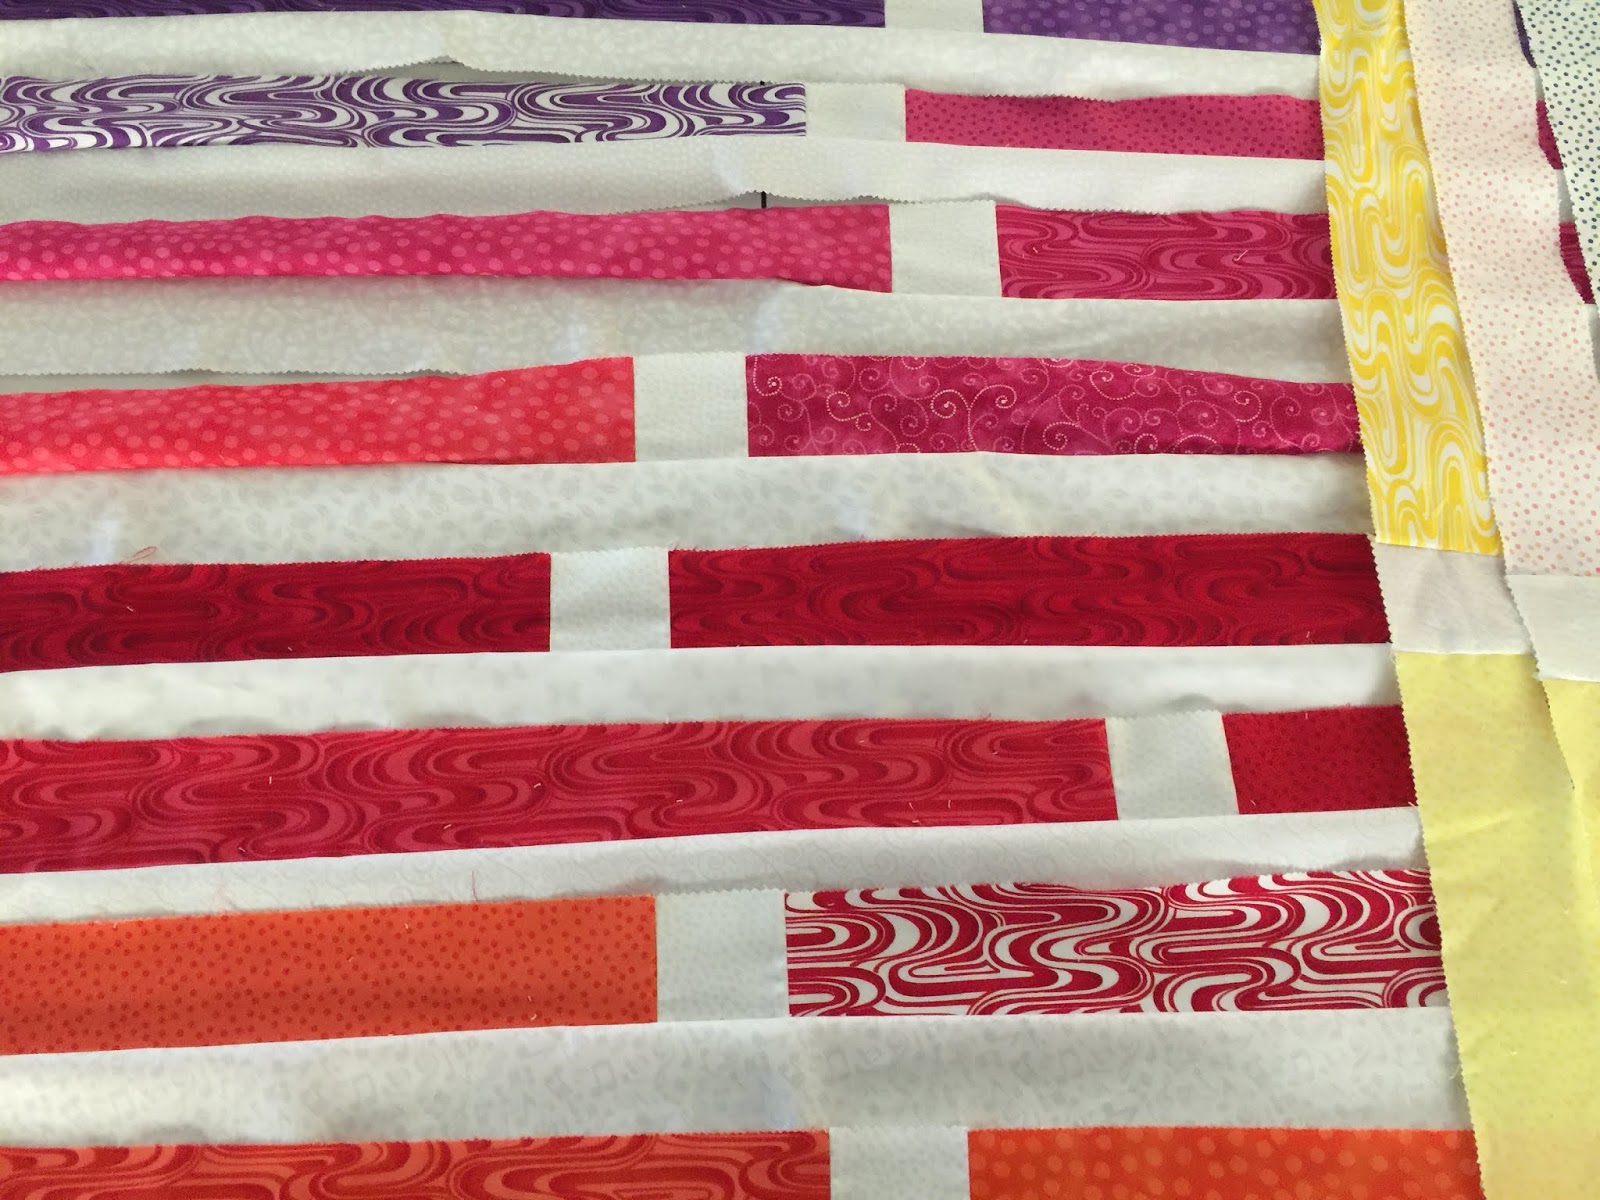
Next I am going to tell about something I usually don't do..........decide to quit on making a quilt that I have started!!  But I decided to quit making the Regatta quilt that I started in January.  It was with a sew along with Home Sewn by Us.  I have photos I took this week of what I had done so far.  I had half of them in the strip sets with the light strips.  I have them draped on a long table ready to continue but I woke up yesterday and decided I have too many other things I am doing and I will use all of this fabric for other quilts.


~~~~~~~~~~~~~~~~~~~~~~~~~~~~~~~Weight Watcher lifestyle~~~~~~~~~~~~~~~~~
Here is some really good peanut butter banana bread I have made serveral times now using a recipe on WW site and IG.....Kodiak cakes and Quest protein powder and it is low points.  There are many versions of this recipe and might be called salted caramel banana bread if you are searching for it.

 The WW lifestyle is all about choices and planning and tracking!  This is not a diet and you can eat any food you choose as long as you track it.............and there are NOT lists of things not to eat like the old WW days!
Linking to crazy mom quilts    finish it up Friday
                Freemotion by the River Linky Tuesday

Smiles and hugs....Caryl

Friday, October 27, 2017

Halloween mug rug

 Jenny at Missouri Star Quilt Company has a tutorial called periwinkle mug rug.
I used the Wacky Web template to cut out the shapes following her tutorial.
It is so much fun to make and I will be making more of these I am sure!
 Here is a photo before I quilted it.  I actually had the layout different but I didn't follow my rule of taking a photo of the way I wanted it before sewing!  SO....when I picked up the pieces in order I actually sewed them different than my plan!!
 Here is the fabric I ordered for a Halloween quilt....but the quilt won't be done before this Halloween!

Weight Watcher Lifestyle
~~~~~~~~~~~~~~~~~~~~~~~~~~~~~~~~~~~
The following are from eating out over the past month.
Denny's tilapia dinner..............very delicious!
 Denny's select a burger...chicken...........very delicious!  Roast potatoes are a lot less points than fries.
 Lake Wohlford  breakfast.  Smokey's scramble and home fries with sourdough toast.  I have had this so many times and really love it!  I don't eat all of the potatoes and the scramble is two eggs instead of three.  No butter on the toast and I put a tiny amount of jam on the pieces.
 Lake Cuyamaca rheuben and the best fries that are coated to be so delicious!
I could only eat one of the sandwiches and took the rest home for later.
There are so many delicious things to order when we eat out....AND I do NOT have to feel deprived!  Checking the points ahead of time and sticking with my plan is the best way to enjoy eating out!!

Let me know any special meals you enjoy when eating out?
And also any low point foods/meals to make during the holidays?

Linking with finish it up Friday   
and Linky Tuesday

Smiles and hugs....Caryl

Friday, September 8, 2017

Boden table mat finish

 This is a pattern from Pat Sloan's book "Teach Me to Sew Triangles"  And I used fabrics from three different lines of her fabrics.
 I like to take a photo of the layout before sewing to see if I need to make changes.
Sorry for all the photos........but I like to document the process on my projects!
 When I first got this book I wanted to make this pattern because I wanted to do the quilting around the center!!

I used varigated thread at first and the next photo I was stumped what I wanted to do next!!
 I used gray thread to finish the quilting.  The center was done all at once without stopping.
I like to figure a way to keep on quilting and not stop and start!
 This is the back....an old Susan Winget panel from years ago!
I am so glad to finish a project this week!!

Linking to crazy mom quilts  finish it up Friday
and Freemotion by the River  Linky Tuesday

smiles and hugs....Caryl